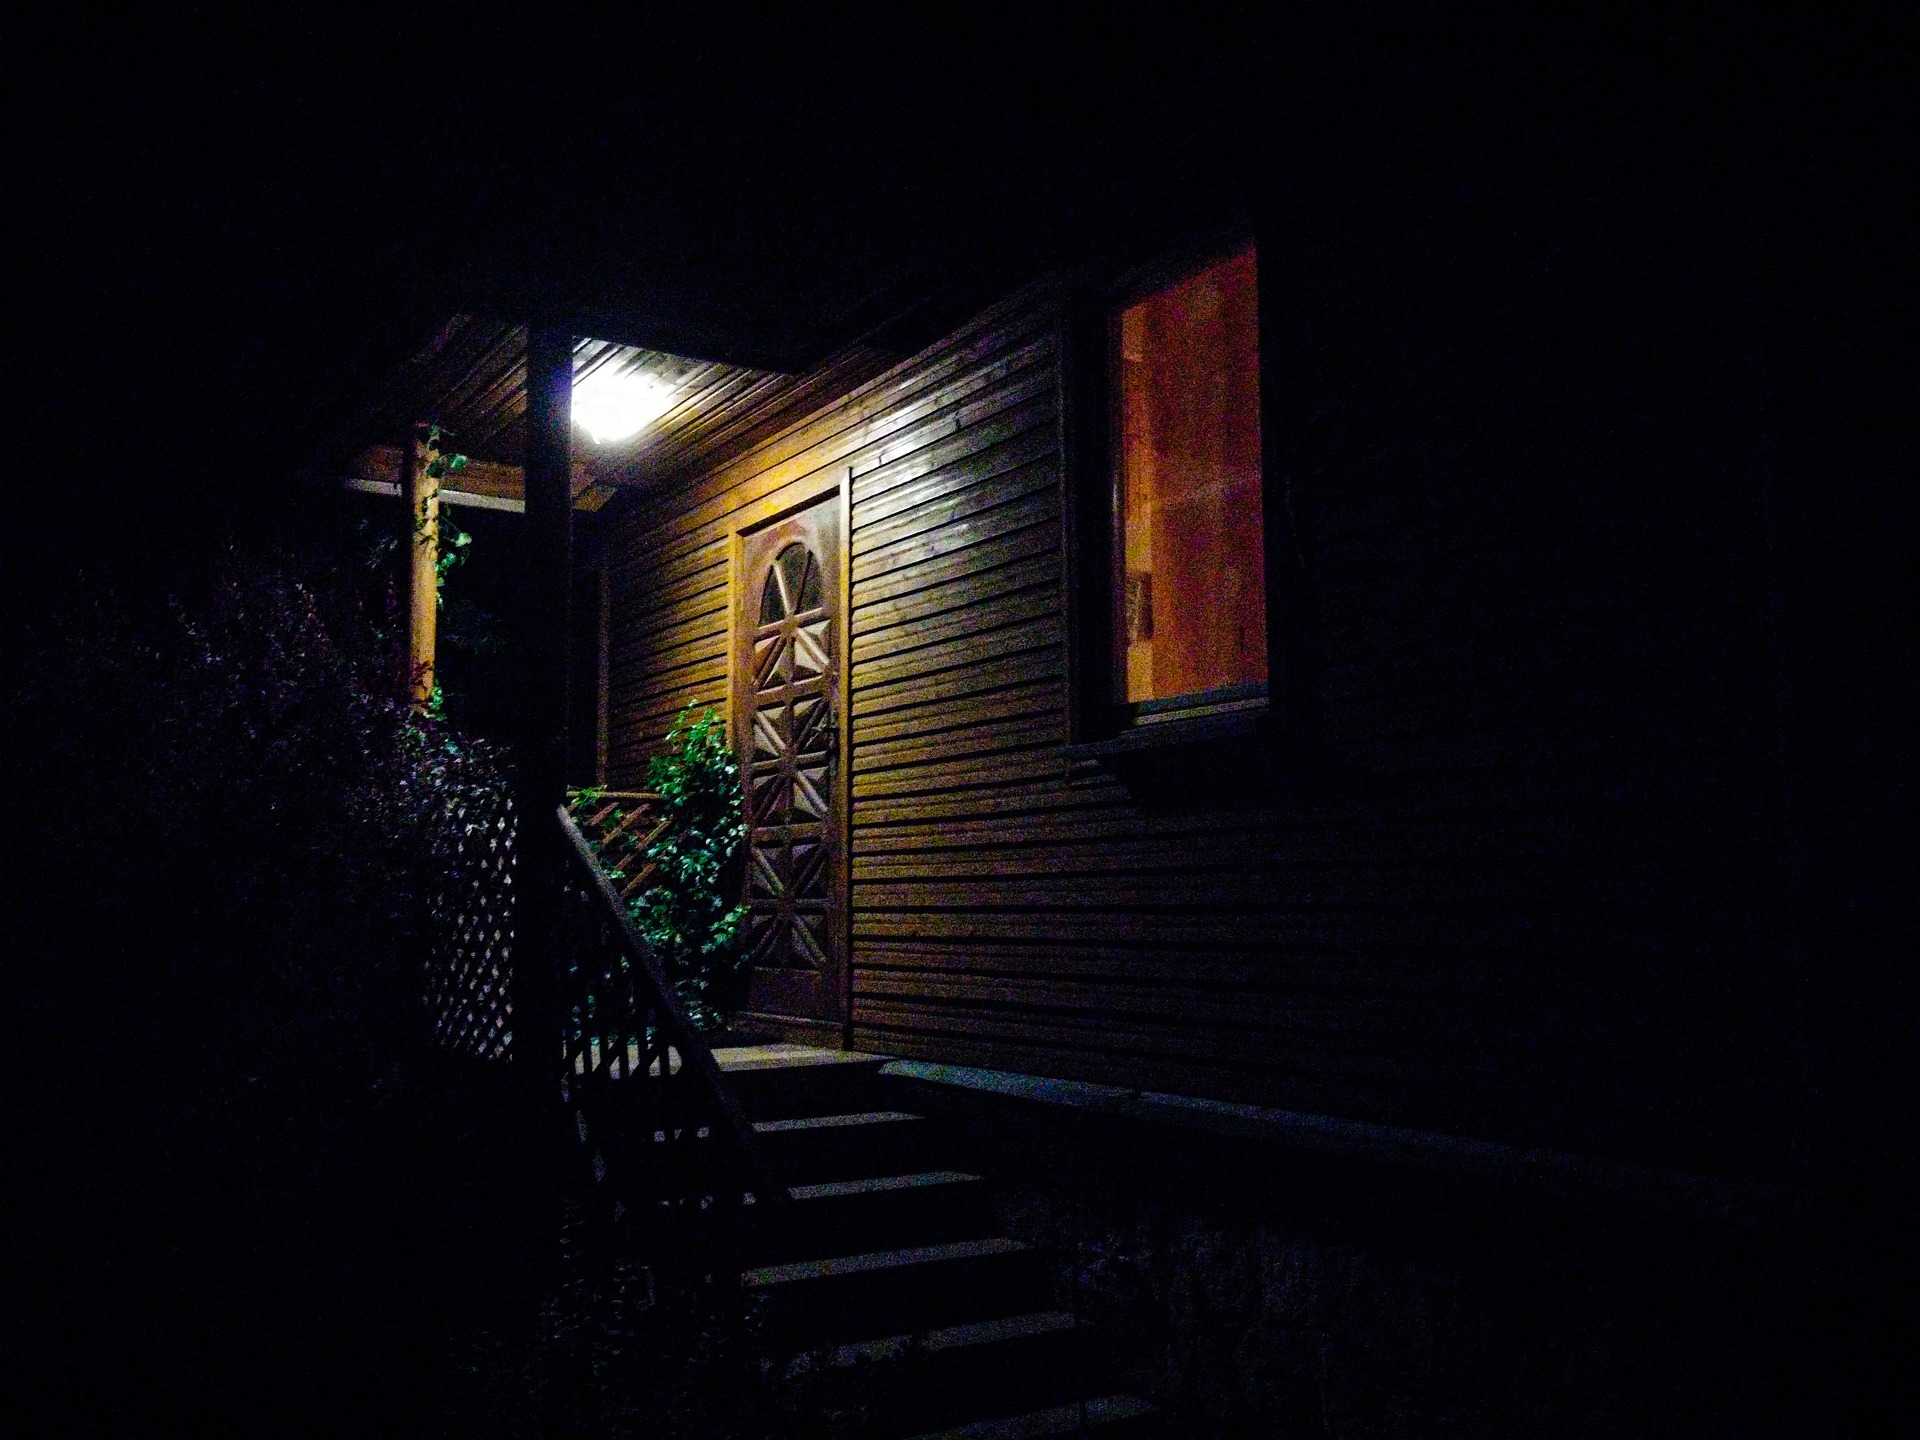
A porch light is an essential part of any home’s exterior, providing security and curb appeal. But over time, the fixture may become dated or broken, and it may be time for an upgrade. Changing a porch light fixture is a relatively simple DIY project that can be completed in just a few hours. In this guide, we’ll walk you through the steps to change your porch light fixture, including tips for selecting a new fixture and troubleshooting common issues.
Step 1: Gather Your Tools and Materials
Before you begin, you’ll need to gather a few tools and materials. You’ll need a screwdriver, wire stripper, wire nuts, and, of course, a new porch light fixture. Make sure to select a fixture that is compatible with the wiring in your home and that fits the size and style of your porch.
Step 2: Turn off the Power
The most important step in changing a porch light fixture is to make sure the power is off before you begin. Locate the circuit breaker that controls the power to your porch light and turn it off. Then, test the light switch to ensure that the power is off before you begin working.
Step 3: Remove the Old Fixture
Once the power is off, remove the old fixture by first removing the glass or plastic cover. Next, remove the mounting screws that hold the fixture to the wall or ceiling. Carefully disconnect the wires from the old fixture, making sure to note the colors of the wires and how they were connected.
Step 4: Install the New Fixture
With the old fixture removed, it’s time to install the new one. Begin by connecting the wires from the new fixture to the wires from the electrical box, making sure to match the colors and the connections. Once the wires are connected, mount the new fixture to the wall or ceiling using the provided mounting screws.
Step 5: Install the Glass or Plastic Cover
Once the fixture is mounted, reinstall the glass or plastic cover, making sure it is securely in place.
Step 6: Turn the Power Back On
Turn the circuit breaker back on and test the new porch light to make sure it is working properly.
Step 7: Enjoy your new Porch Light!
With your new porch light installed, you can enjoy the improved aesthetics and functionality of your home’s exterior.
Changing a porch light fixture is a simple and affordable DIY project that can be completed in just a few hours. By following these steps and selecting a compatible fixture, you can upgrade your porch light and enhance your home’s curb appeal. Remember to always be safe and turn off power before attempting any electrical work.