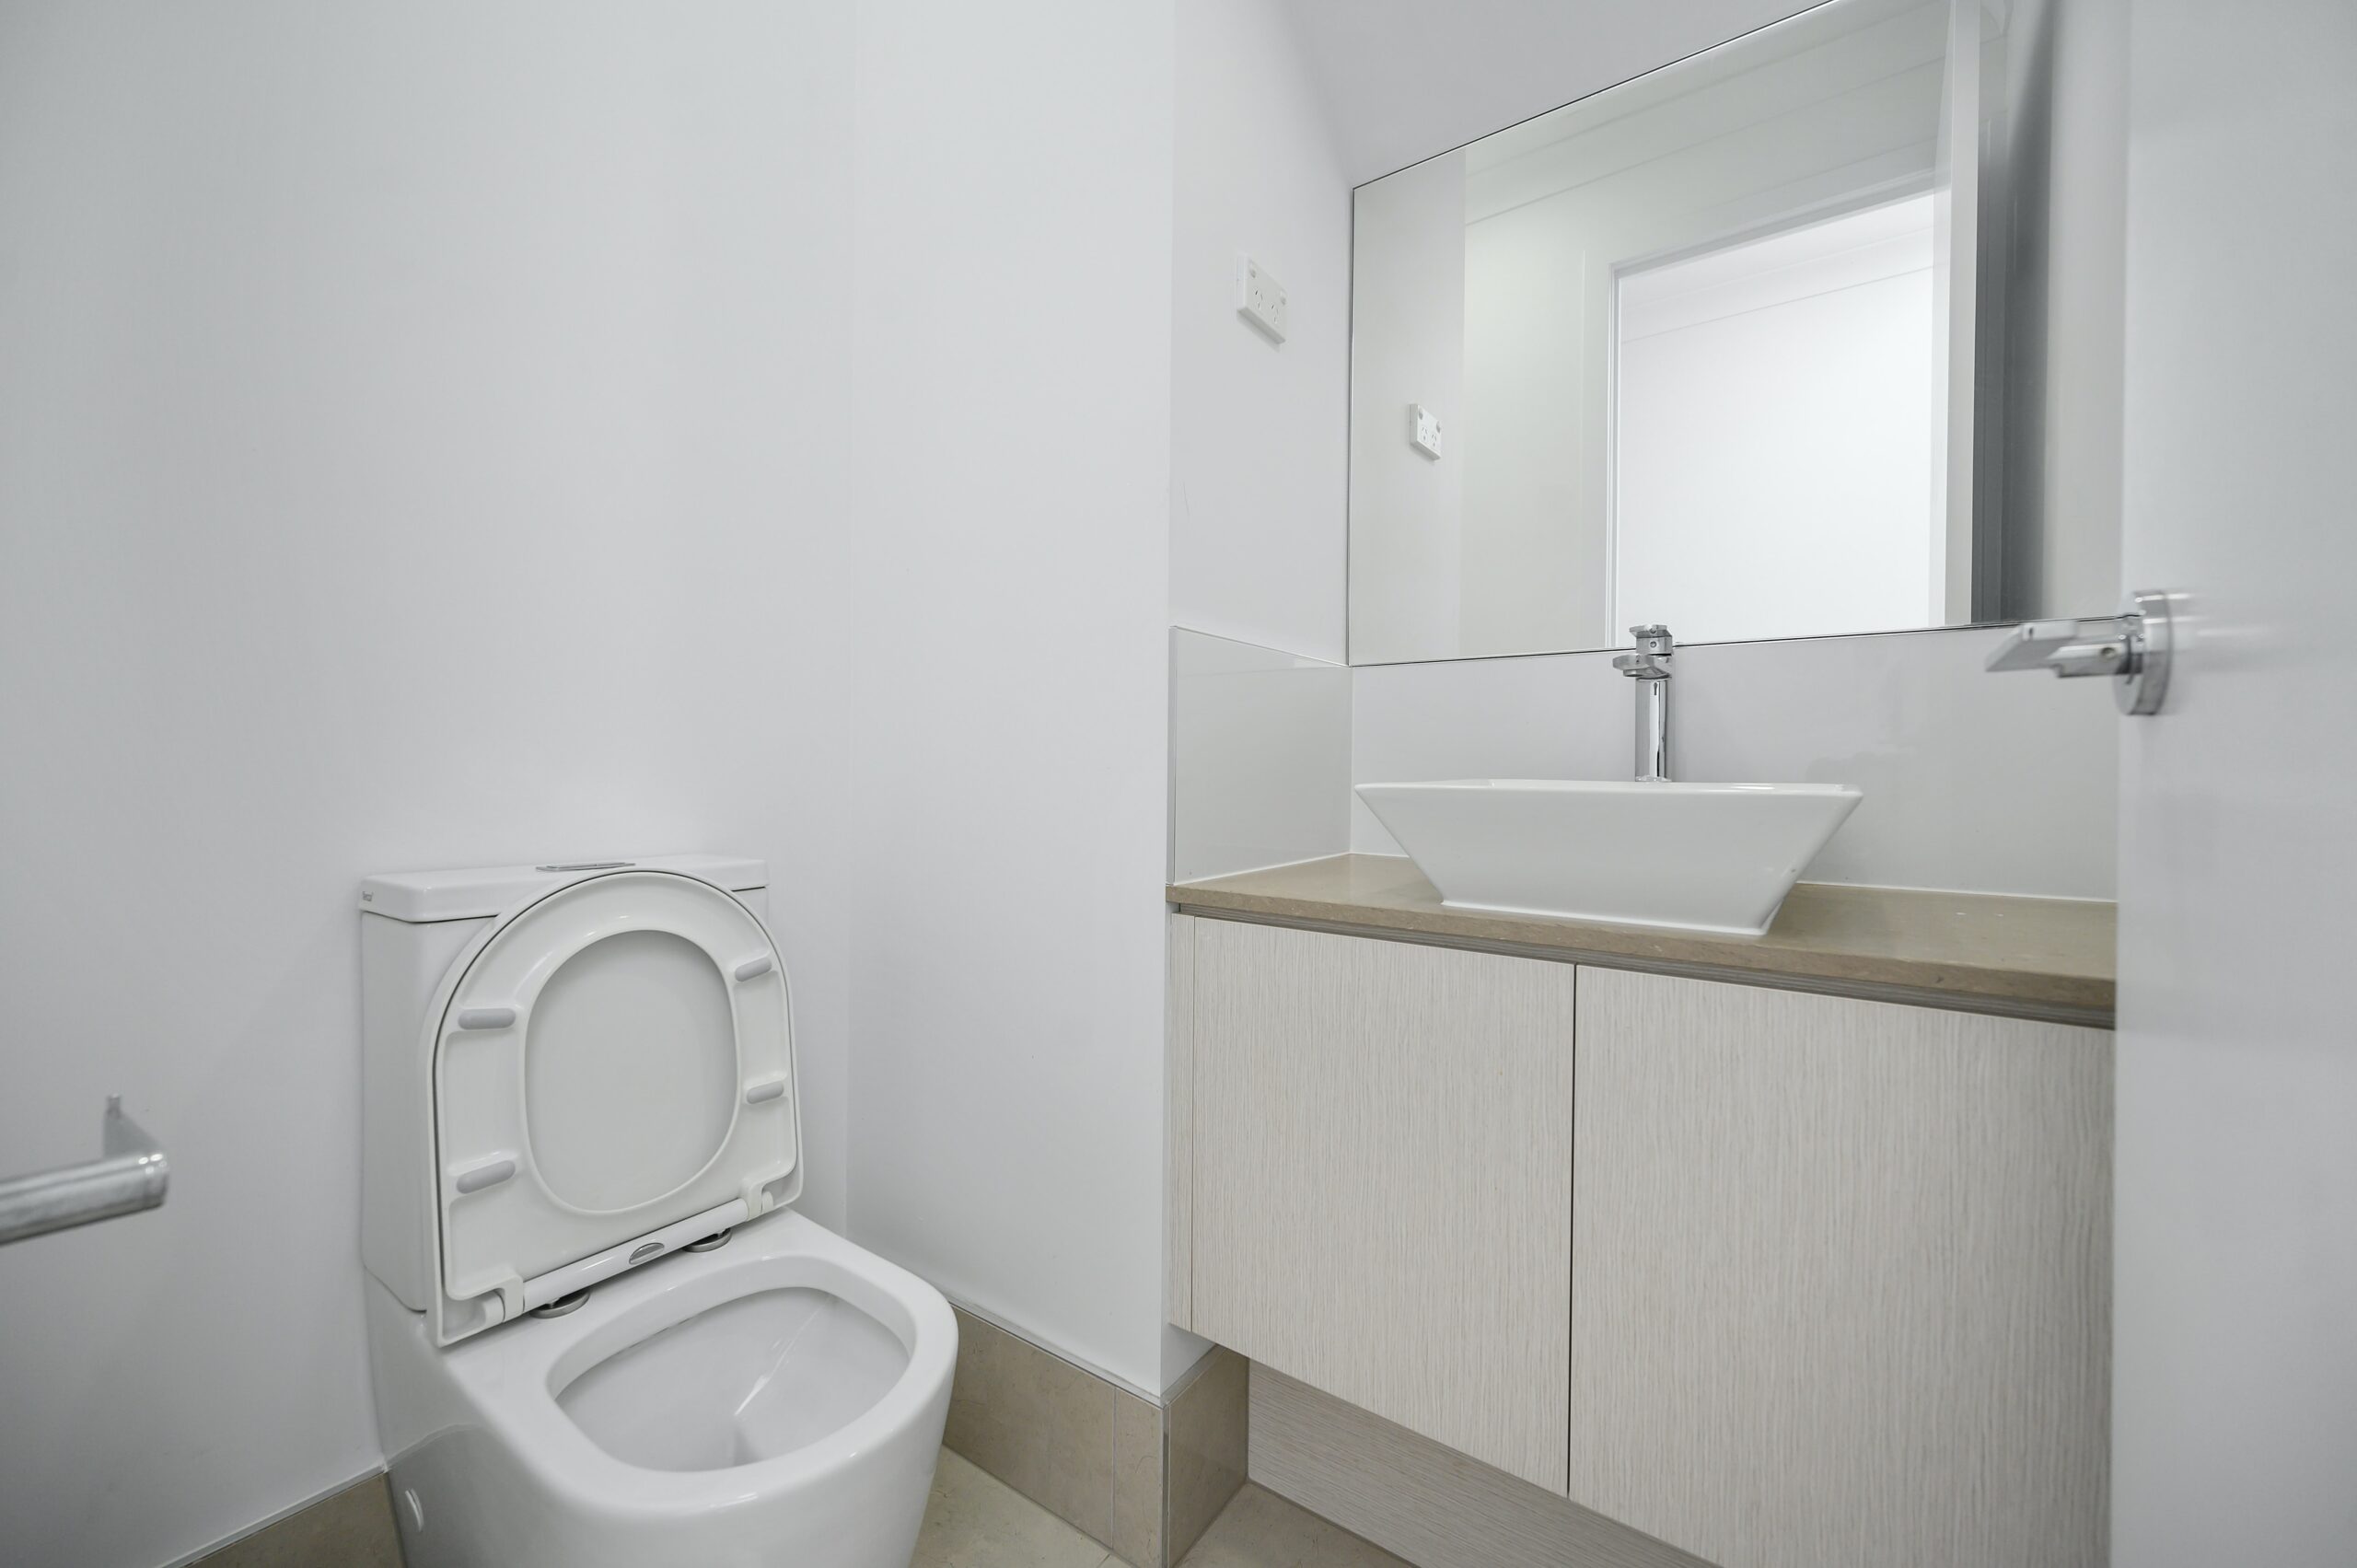
Replacing a bathroom toilet is a simple DIY project that can be completed in just a few hours. Not only does it give your bathroom a fresh new look, but it can also save you money on water bills by upgrading to a more efficient toilet. In this guide, we will walk you through the process of how to replace a bathroom toilet in 5 easy steps.
Step 1: Turn off the water supply
Before you start the replacement process, it’s essential to turn off the water supply to the toilet. You can do this by turning the valve located behind the toilet clockwise. Once the water is turned off, flush the toilet to remove any remaining water in the tank and bowl.
Step 2: Remove the old toilet
Use a socket wrench to remove the bolts that hold the toilet to the floor. Carefully lift the toilet and set it aside. Be sure to wear gloves and use caution when handling the toilet as it can be heavy and dirty.
Step 3: Measure the rough-in
The rough-in is the distance from the wall behind the toilet to the center of the waste pipe. Measure this distance to ensure that the new toilet will fit properly.
Step 4: Install the new toilet
Place the new toilet on the floor and align it with the waste pipe and the rough-in measurement. Use the bolts and the wax ring to secure the toilet to the floor.
Step 5: Connect the water supply
Reattach the water supply line to the new toilet and turn on the water supply. Flush the toilet to ensure that there are no leaks.
Replacing a bathroom toilet is a simple and easy DIY project that can be completed in just a few hours. By following these 5 easy steps, you can give your bathroom a fresh new look and save money on water bills by upgrading to a more efficient toilet.


